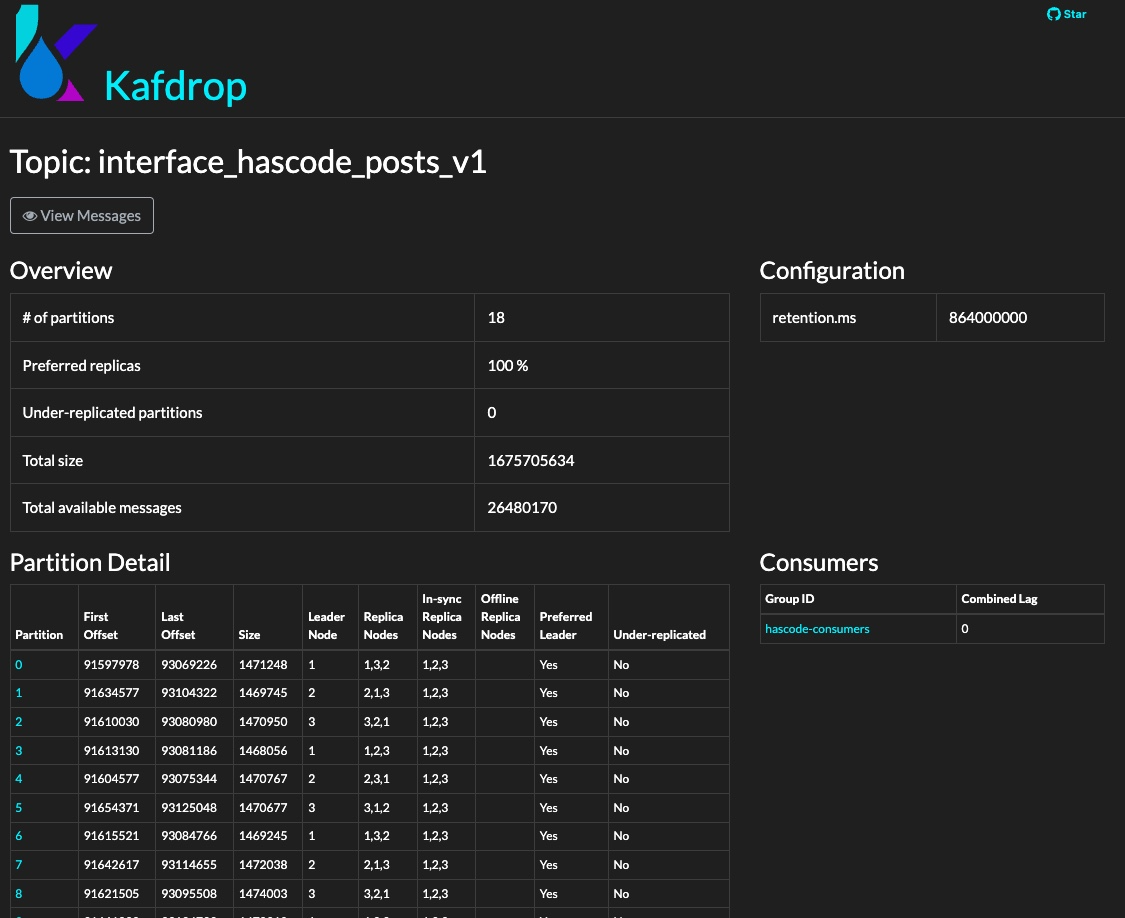
In the ever-expanding world of data streaming and event-driven architecture, Apache Kafka has emerged as a cornerstone for reliable and scalable data processing. However, managing and monitoring Kafka clusters can often present its own set of challenges. This is where Kafdrop, a web-based Kafka consumer group and topic viewer, comes to the rescue. With its intuitive interface and insightful visualizations, Kafdrop offers developers and operators an efficient way to gain valuable insights into Kafka clusters.
But setting up Kafka monitoring tools shouldn’t be a complex ordeal. In this article, we’ll explore a streamlined approach to deploying Kafdrop using Helm Charts on a Kubernetes cluster. Helm, the Kubernetes package manager, enables us to automate and simplify the deployment process, allowing us to focus on what truly matters - extracting meaningful insights from Kafka without getting lost in the setup intricacies.
Whether you’re new to Kubernetes, Helm, or Kafka monitoring, by the end of this article, you’ll have a clear understanding of how to get Kafdrop up and running swiftly, empowering you to efficiently manage your Kafka ecosystem. So, let’s dive in and discover how you can harness the power of Kafdrop with Helm Charts, making Kafka monitoring a breeze.
Prerequisites
We have an existing infrastructure with a Kafka broker reachable in our cluster via kafka:9092 and a Schema registry connected and reachable via schemaregistry:8081 and our records contain Avro serialized data, the key does not contain Avro data.
In addition we want to set up Kafdrop as "read-only" so that there are no buttons to create new topics oder to delete topics.
Tool-wise, kubectl and helm should be installed, that’s all…
Steps
-
Clone repository
git clone https://github.com/obsidiandynamics/kafdrop && cd kafdrop -
Configure and deploy Helm Chart
helm upgrade -i kafdrop chart --set image.tag=3.3.2 \ --set kafka.brokerConnect=kafka:9092 \ --set server.servlet.contextPath="/" \ --set cmdArgs="--message.keyFormat=DEFAULT -message.format=AVRO --schemaregistry.connect=http://schemaregistry:8081 --topic.deleteEnabled=false --topic.createEnabled=false" \ --set jvm.opts="-Xms32M -Xmx64M" -
Create a proxy connection
kubectl proxy -
And now we should be able to view our instance at the following location:
http://localhost:8001/api/v1/namespaces/default/services/http:kafdrop:9000/proxy
|
If you don’t want to proxy, you can also create a tunnel to the kafdrop pod on port 9000 like this: Then you can access kafdrop at |
Resources:
